Audio feedback loop: what it is and how to stop it
Date added: 9/07/2026
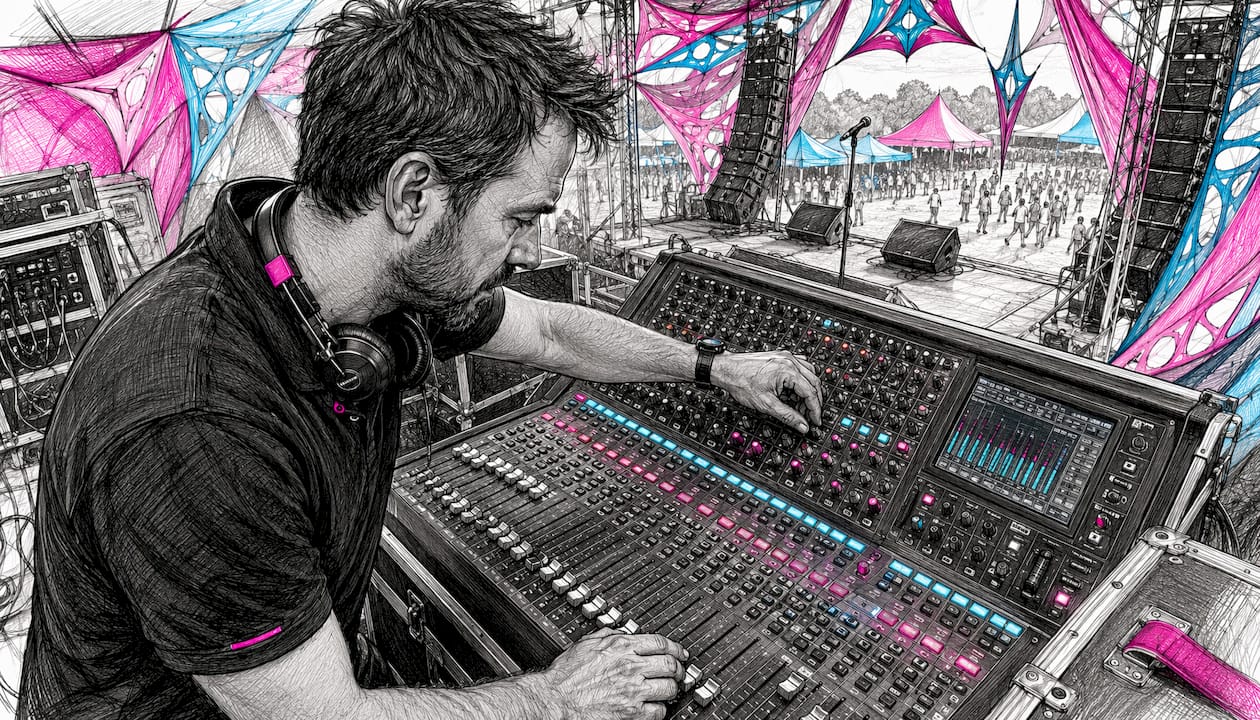
An audio feedback loop (also called the Larsen effect or howlround) happens when amplified sound from a loudspeaker re-enters a microphone, gets amplified again, and repeats in a continuous cycle. The result is that familiar screech or sustained howl that can clear a room in seconds. The technical condition for it to start is straightforward: loop gain must reach or exceed unity (≥ 1) at a frequency where the signal arrives back in phase.
If you can hear feedback right now, do these things immediately:
- Lower the master or monitor level on the mixing desk — even 3 dB can break the loop.
- Mute the suspected channel (usually the microphone nearest the speaker).
- Move the microphone away from the loudspeaker or turn it to face a different direction.
- Turn off the monitor wedge if you are on stage.
- Check for open, unused microphones and mute any that are live but not in use.
Hearing safety: Feedback can produce sound pressure levels (SPL) well above safe listening thresholds in fractions of a second. If you are troubleshooting a live system, wear hearing protection and keep bystanders away from speakers until the loop is resolved.
Pro Tip: Before any event, set all channel faders to unity and bring the master up slowly. You will find the feedback threshold before the audience does — and you can notch it out calmly rather than chasing it mid-show.
The short version: feedback is a loop of sound that keeps amplifying itself. Understanding why it starts puts you in control of stopping it.
Table of Contents
- What is an audio feedback loop and why does it happen?
- What makes feedback more or less likely in your setup?
- How to prevent and control feedback before and during events
- Quick troubleshooting checklist when feedback starts
- When feedback is the point: deliberate uses in music and sound design
- How AV professionals manage feedback at events
- Key takeaways
- A practitioner’s view on feedback
- Fireflyav can handle the feedback so you do not have to
- Useful sources and further reading
What is an audio feedback loop and why does it happen?
Feedback is not random noise. It is a predictable consequence of physics, and once you understand the signal path, you can see exactly where to intervene.
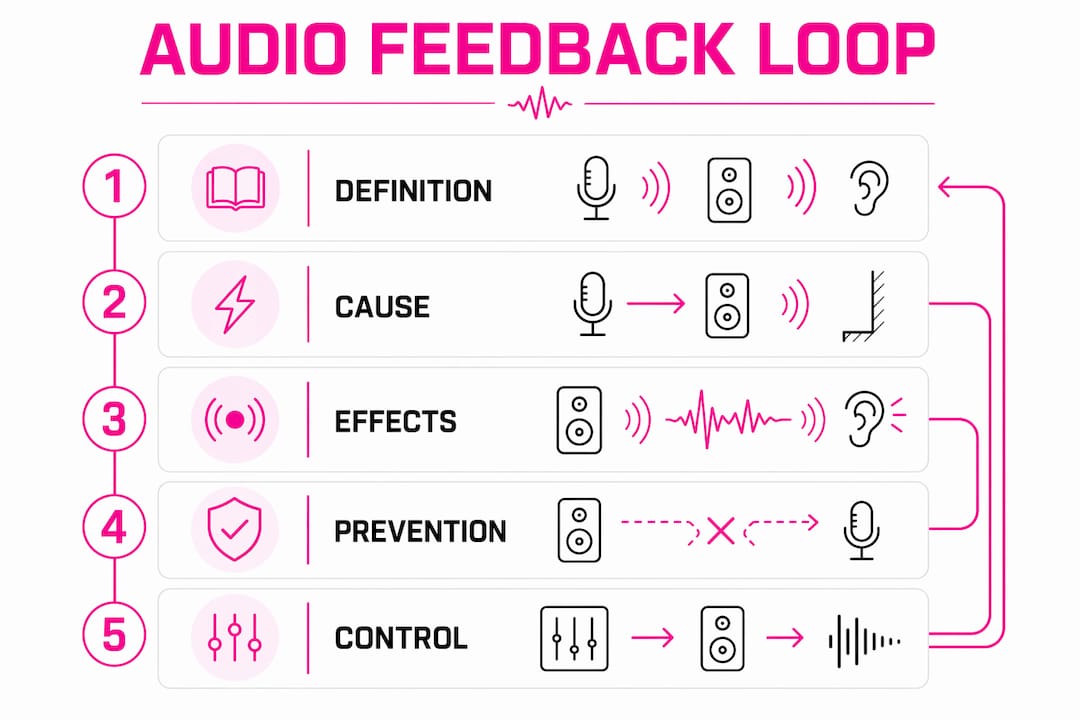
The loop works like this: a microphone picks up sound, an amplifier boosts it, a loudspeaker outputs it, and the acoustic energy from that speaker travels back through the air to the microphone. If the gain around that entire path is high enough, the signal reinforces itself rather than dying away. The pitch you hear is set by whichever frequency first satisfies two conditions simultaneously: loop gain ≥ 1 and a phase shift that is an integer multiple of 360°. This is the Barkhausen stability criterion applied to acoustic systems.
Gain, phase, and polarity in plain terms
- Gain is how much the signal is amplified on each pass around the loop. A gain of exactly 1 (unity) means the signal neither grows nor shrinks. Above 1, it grows — fast.
- Phase describes the timing relationship between the outgoing and returning signal. When the returning signal lines up with the original (in phase), the two add together constructively.
- Polarity refers to whether the signal is inverted. A polarity flip can sometimes reduce feedback by causing partial cancellation, though it is not a reliable fix on its own.
“Feedback is governed by phase, gain and polarity. Managing those three pillars lets operators control feedback rather than panic-react.” — Front of House Magazine
The acoustic travel time between a monitor loudspeaker and a microphone is typically 5–15 ms. That delay determines which frequencies are most likely to feed back first, because it sets the spacing between potential feedback bands. A longer acoustic path slows the growth rate slightly but creates more closely spaced candidate frequencies — meaning more potential problem bands to manage, not fewer.
When the loop gain exceeds unity, the level rises until the amplifier clips, which limits the gain back to exactly 1. That clipping is what locks the feedback into a sustained, distorted tone rather than an ever-rising one.
What makes feedback more or less likely in your setup?
Several physical and electrical factors interact to push a system toward or away from the feedback threshold. Knowing which ones apply to your setup tells you where to focus first.
Physical factors
- Microphone polar pattern: an omnidirectional mic picks up sound from all directions, including directly from the loudspeaker. A cardioid or supercardioid pattern rejects sound arriving from the rear, giving you more gain before feedback.
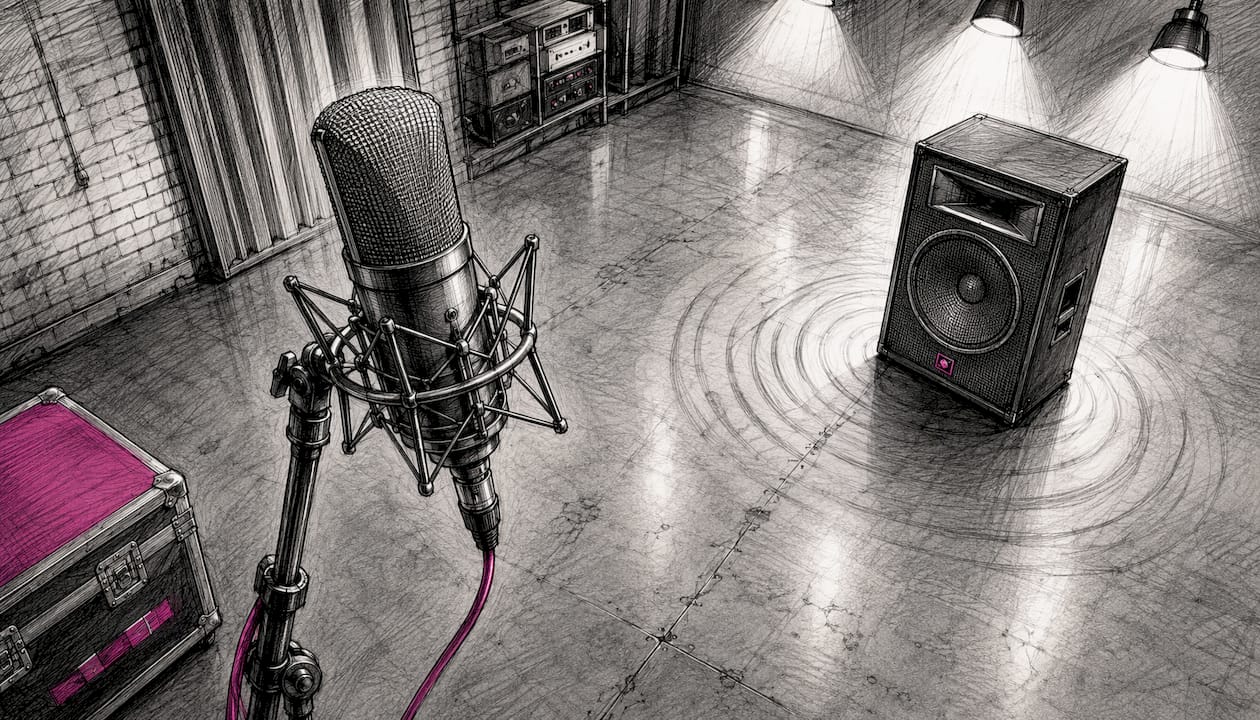
- Mic-to-speaker distance: the closer a microphone is to a loudspeaker, the stronger the return signal. Even moving a mic 30 cm further away can make a meaningful difference.
- Speaker directivity: a tightly controlled speaker (a line array, for example) sends less energy toward the stage than a wide-dispersion box. Room acoustics and reflective surfaces increase feedback risk because reflections return sound unpredictably to microphones.
- Monitor placement: a wedge monitor aimed directly at a microphone’s pickup capsule is one of the most common causes of stage feedback.
Electrical and system factors
- Gain staging: too much gain at any point in the chain — preamp, channel fader, master — reduces the headroom before feedback.
- Number of open microphones: every active mic adds to the system’s overall gain. The more open mics, the lower the threshold before feedback starts.
- Frequency response peaks: a microphone or room with a resonant peak at a particular frequency reaches unity gain at that frequency before others. That is the pitch you hear first.
- Time delay in the signal path: digital processing, long cable runs, and DSP all add latency, which shifts the probable feedback frequencies.
The small meeting room problem
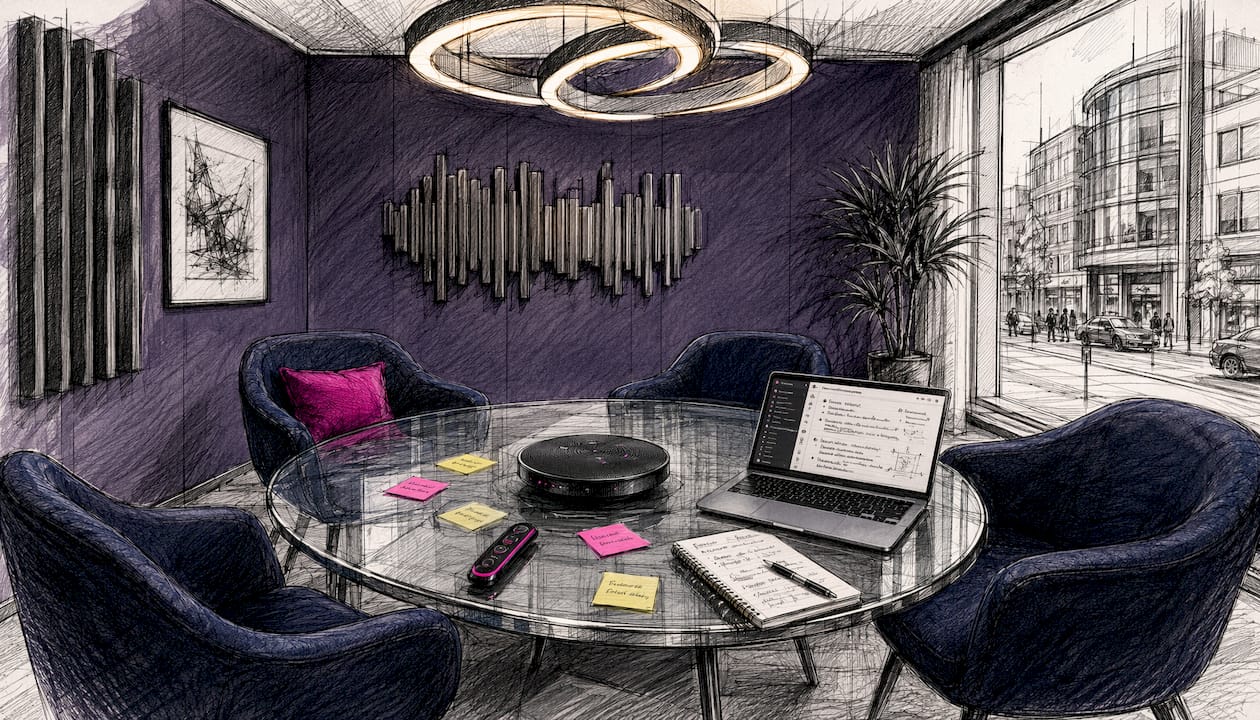
Small, reflective meeting rooms are among the hardest environments to manage. Hard walls, glass partitions, and low ceilings create multiple unpredictable reflection paths. A single boundary microphone on a conference table, combined with a ceiling speaker directly above it, can produce feedback at conversational volume levels. The fix in that scenario usually involves tighter mic patterns, acoustic panels on at least two walls, and reducing the number of active microphone channels.
Pro Tip: Reducing open microphones is the single highest-impact action you can take before touching any EQ. Muting unused channels costs nothing and immediately raises your gain-before-feedback headroom.
| Factor | Higher feedback risk | Lower feedback risk |
|---|---|---|
| Mic polar pattern | Omnidirectional | Supercardioid / hypercardioid |
| Mic-to-speaker distance | Close (under 1 m) | Further away (2 m+) |
| Room surfaces | Hard, reflective (glass, concrete) | Treated with acoustic panels |
| Open microphones | Many channels active | Only mics in use are live |
| Monitor type | Wedge aimed at mic | In-ear monitor (IEM) |
How to prevent and control feedback before and during events
Prevention is almost always easier than cure. The steps below are ordered by impact: start at the top and work down.
Step-by-step: setting up a UK live sound system to minimise feedback
- Position speakers in front of microphones. Place all front-of-house speakers forward of the performers’ mic positions. This is the single most effective structural fix.
- Choose directional microphones. Cardioid mics reject sound from the rear; supercardioid and hypercardioid patterns offer even tighter rejection. For conference setups, consider a conference mic system with boundary or gooseneck elements that sit close to the source.
- Set gain staging correctly. Bring each channel’s preamp gain up until the signal peaks around 0 dBVU on the channel meter, then set faders at unity. Never compensate for low gain with a high master fader.
- Mute all unused channels. This is non-negotiable. An open mic with no one speaking still picks up room sound and contributes to the loop.
- Ring out the system. Bring the master level up slowly until you hear the first hint of feedback, then use a parametric or graphic EQ to cut that frequency by 3–6 dB. Repeat until you have 6 dB of headroom above your intended operating level. Experienced engineers avoid aggressive wide cuts to preserve tonal balance.
- Apply EQ notches after all other settings are finalised. Phase-altering settings (crossovers, delays, speaker processing) shift the feedback frequencies. Notch after those are locked in.
- Consider in-ear monitoring. Replacing wedge monitors with IEMs removes one of the most common acoustic feedback paths on stage entirely.
Equipment options and trade-offs
- Parametric EQ: precise, narrow cuts at exact problem frequencies. Best for permanent installations and experienced operators.
- Graphic EQ: faster to use live, but cuts are fixed at ISO centre frequencies, which may not match the exact feedback pitch.
- Automated feedback suppressors: use auto-notching, frequency shifting, or adaptive filters. Auto-notching is the most common approach; frequency shifting can add subtle pitch artefacts; adaptive filter models require accurate speaker modelling to work well.
- Headset microphones: keeping the capsule close to the mouth means the gain can be lower overall, reducing feedback risk. A headset microphone is often the fastest practical fix for a presenter in a reflective room.
- Lapel microphones: a Sennheiser lapel microphone worn close to the chest gives consistent level and keeps the capsule well away from monitor speakers.
Feedback frequency ranges to know
When ringing out, the pitch tells you roughly where to look on the EQ:
- Hoot or howl (250–500 Hz): low-mid range, often caused by room modes or proximity to a subwoofer.
- Singing tone (around 1 kHz): mid-range feedback, common in vocal-heavy setups.
- Whistle (above 2 kHz): high-frequency feedback, often linked to mic capsule resonance or a bright room.
Pro Tip: When notching, keep your Q (bandwidth) narrow — a cut of 3–6 dB over roughly one-third of an octave is usually enough. Wide cuts remove too much programme material and make the system sound thin. If you need more than six notches to stabilise a system, the root problem is gain staging or placement, not EQ.
SPL safety note: Sustained feedback above 85 dB SPL causes hearing damage with prolonged exposure. When ringing out a system, keep the level as low as practical, limit exposure time, and use hearing protection. The Health and Safety Executive sets the lower exposure action value for UK workplaces at 80 dB(A) daily average.
Quick troubleshooting checklist when feedback starts
Use this sequence the moment you hear feedback. Speed matters — the loop grows fast.
- 0–5 seconds: mute the master output. This breaks the loop immediately. Do not reach for EQ first.
- 5–10 seconds: mute suspected channels. Unmute them one at a time to identify the offending microphone.
- 10–30 seconds: reduce monitor level. Lower the monitor send for the affected channel by 3–6 dB before bringing the master back up.
- 30–60 seconds: reposition the microphone. Move it further from the speaker or rotate it so the rear null of the polar pattern faces the monitor.
- 1–3 minutes: apply an EQ notch. Find the feedback frequency (use your ear or an RTA if available) and cut it by 3–6 dB with a narrow parametric band.
- 3–5 minutes: switch to a headset or IEM if available. If the problem persists, a headset or in-ear monitor removes the acoustic path causing the issue.
- If the tone persists after all of the above: pull the mains and check for a signal routing error — a channel may be feeding back through a return or effects loop rather than the main acoustic path.
The most common mistake is reaching for the EQ before muting. Notching a live feedback loop while it is screaming is difficult and slow. Mute first, fix second, unmute carefully.
When feedback is the point: deliberate uses in music and sound design
Not all feedback is a problem. Some of the most distinctive sounds in recorded music come from controlled feedback, and understanding how it is managed creatively reinforces why the physics matter.
- Electric guitar sustain: a guitarist standing close to an amplifier allows the string vibration to be sustained by the returning acoustic energy. Jimi Hendrix and Carlos Santana used this extensively. The key is keeping loop gain just below the runaway threshold so the note sustains rather than explodes into noise.
- Experimental sound design: composers and producers route signals through effects chains with deliberate return paths, shaping the feedback with filters and delays to create evolving textures. The loop gain is kept below unity for a decaying tail, or modulated to create pitch-shifting effects.
- Effects pedals: dedicated feedback pedals and infinite-sustain devices use internal gain control to hold the loop at exactly unity, producing a note that sustains indefinitely without growing.
Creative feedback control works by keeping gain below unity for a decaying tail or by shaping the frequency response so only a narrow band feeds back. The moment gain exceeds unity across a broad range, the sound becomes uncontrolled. SPL management is critical in any deliberate feedback setup — studio monitors should be positioned carefully, and performers should wear hearing protection during extended sessions. For a deeper look at how speaker and microphone positioning affects acoustic interactions, the spatial audio principles involved are the same whether the goal is feedback prevention or creative control.
How AV professionals manage feedback at events
Professional audio engineers do not wait for feedback to happen. They design it out of the system before the first guest arrives.
Professional workflows
- System design: an engineer calculates gain-before-feedback margins during the planning stage, choosing speaker positions, mic types, and signal routing to maximise headroom before a single cable is plugged in.
- Measurement and ring-out: using a real-time analyser (RTA) and a measurement microphone, the engineer identifies frequency response peaks in the room and applies targeted EQ cuts before the system goes live.
- Monitor management: professional engineers use managed monitor wedges with individual sends per performer, or specify IEMs to eliminate wedge-related feedback paths entirely.
- Automated suppression: in complex installs (conference centres, broadcast studios, houses of worship), automatic notching units handle feedback that develops during a session without requiring manual intervention.
Professional tools
- Real-time analysers (RTA): display the frequency content of the room signal in real time, making feedback frequencies visible before they become audible.
- Parametric EQs: allow precise, narrow cuts at exact problem frequencies identified by the RTA.
- Measurement microphones: flat-response mics used specifically for system calibration, not for picking up speech or music.
- Automatic notching units and feedback suppressors: DSP-based devices that detect and notch feedback frequencies autonomously.
- In-ear monitor systems: wireless IEM packs that deliver a personal mix directly to performers’ ears, removing the need for floor wedges.
Understanding room acoustics is foundational to all of this — the way a room’s surfaces, dimensions, and materials interact with a sound system determines where feedback will occur before any microphone is switched on.
When to hire a professional AV engineer
Some situations genuinely require expert support:
- A complex venue with multiple speaker zones, balconies, or unusual geometry.
- A high-stakes corporate conference or broadcast where feedback would be professionally damaging.
- A repeated feedback problem that persists despite basic fixes — this usually indicates a system design issue, not an operator error.
- Any event where the speaker or performer cannot tolerate interruptions (keynotes, award ceremonies, live broadcasts).
Pro Tip: Ask your AV engineer to show you the gain-before-feedback margin they have achieved during ring-out. A well-designed system should have at least 6 dB of headroom above the intended operating level. If they cannot tell you the number, that is worth asking about.
Key takeaways
An audio feedback loop starts the moment loop gain reaches unity at a frequency arriving in phase — and the fastest way to stop it is to mute the master output before touching anything else.
| Point | Details |
|---|---|
| Core condition for feedback | Loop gain ≥ 1 at a frequency where the phase shift is a multiple of 360° causes sustained oscillation. |
| Three highest-risk factors | Too many open mics, monitor wedges aimed at microphones, and reflective room surfaces each independently push a system toward feedback. |
| Four immediate fixes | Mute the master, mute the suspected channel, reposition the mic, and reduce the monitor send — in that order. |
| Hearing safety | Feedback can reach damaging SPL in fractions of a second; wear hearing protection when troubleshooting live systems. |
| Fireflyav’s role | Fireflyav provides system design, ring-out, and on-site technical support to prevent feedback at corporate events, conferences, and live productions. |
A practitioner’s view on feedback
The thing most people get wrong about feedback is treating it as an emergency rather than a symptom. When a system feeds back, it is telling you something specific: the gain around a particular acoustic path has exceeded unity at a particular frequency. That is not chaos — it is information.
The engineers who handle feedback best are the ones who have already thought about it before the event starts. They have checked monitor placement, muted unused channels, and rung out the system with enough headroom that a presenter moving toward a speaker does not immediately trigger a loop. The ones who struggle are the ones who set everything to maximum and then wonder why the room is screaming.
There is also a tendency to over-rely on automated feedback suppressors as a substitute for good system design. A suppressor can save you in a pinch, but if you are burning through notches during a show, the underlying problem is gain staging or placement. Fix the root cause; use the suppressor as a safety net, not a first line of defence.
The single habit that separates competent engineers from reactive ones: always check monitor placement before touching the EQ. A wedge aimed at a microphone’s capsule will feed back regardless of how many notches you apply.
Fireflyav can handle the feedback so you do not have to
Persistent feedback at a corporate event or conference is not just annoying — it undermines the credibility of the whole production. Fireflyav’s technical team designs audio systems from the ground up with feedback prevention built in: speaker positioning, gain-before-feedback measurement, ring-out, and on-site engineer support throughout the event.
Whether you are planning a conference, a broadcast, or a live production, Fireflyav supplies the equipment and the expertise to keep your audio clean. Browse the AV equipment guide for event planners for a broader overview of what a well-specified system looks like, or go straight to the product enquiry form to tell us about your event and get a tailored recommendation. The team is ready to help you build a system that works — quietly, reliably, and without the screech.
Useful sources and further reading
The following sources informed this article and are worth reading if you want to go deeper on any aspect of audio feedback.
| Source | What it covers | Why it matters |
|---|---|---|
| Wikipedia: Audio feedback | Full technical definition, Barkhausen criterion, signal-flow diagram | Best starting point for the physics and history of the Larsen effect |
| Shure: How to control feedback | Practical prevention methods, ringing out, IEM recommendation | Manufacturer-level guidance backed by decades of live-sound experience |
| Rane: Understanding acoustic feedback and suppressors | DSP suppression methods, auto-notching, adaptive filters, delay effects | Detailed technical note on suppressor trade-offs; essential for installed-audio engineers |
| Front of House Magazine: The science behind feedback | Phase, gain, polarity explained for working engineers | Practical framing of the Barkhausen criterion for live-sound operators |
| Anchor Audio: How to avoid feedback at live events | Small-venue and live-event practical tips | Useful for event planners managing smaller or reflective spaces |
For equipment-specific behaviour, always consult the manufacturer’s technical documentation for your microphone, mixer, and speaker. If you are dealing with a persistent or venue-specific feedback problem, contact a qualified AV engineer rather than relying solely on general guidance.